Quilter's Academy - Volume 2 - Sophomore Year

Vol 3 - Junior Year


Thursday, October 17, 2013

Vol 3 - Design - Linking Blocks

The sewing stops for a bit now while some lessons in design happen.  Designing is scary to me.  I'm hoping that with a bit of a push from Harriet and Carrie I can plow through this.

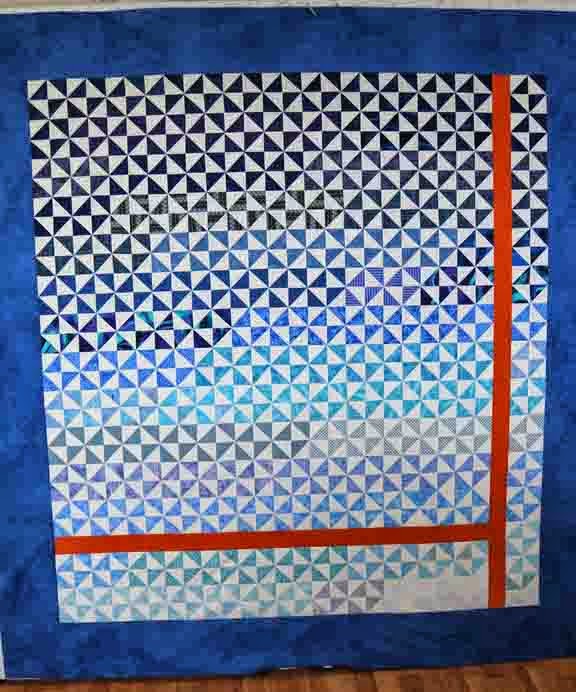
We make a start with the most commonly use linking block - The Snowball.  Harriet gives instruction on how to make this block.  I cheated a bit and used my Marti Michell templates.  Now I know I didn't rate these highly for making half square triangles, but for making Snowball blocks, they are definitely the way to go.

Cut your triangles with the templates, sew them directly onto your plain square, then trim off the excess.  Brilliant!
Using the Snowball to connect a couple of 16 patch blocks
 
Next I had a go at Square in a Square.  Very similar to Snowball but while Snowball has the corners of the square cut off, Square in a Square gets you the whole thing.
 
This time I used the Easy Angle to make my triangles

Sewing it the Harriet way

Square in a Square.  Sorry not the best fabrics to use for this block, but you get the idea.
 
The book goes on to describe lots of other linking blocks and ideas for using them, then it was onto using pieced frames around your blocks.  I'm sure I'll be making these a bit further along in the course, but for now it was a lesson in prettying up your sashings.
 
First up I made a Sawtooth Star Sashing.  Once again I used the Perfect Patchwork templates in the same way as for the Snowball block.
Sew the little triangles to both ends of your sashing.........

add a linking square in the same colour as the triangles......

Voila!  Sawtooth Star sashing.
 
Next up I had a go at Latticework Sashing. 
Sew strips to both sides of your sashing......

Slice a square diagonally, then sew in a thin strip, cross over it with another strip appliqued over the top.

Use the square to join the two sashings.
 
Not really happy with this one.  appliqueing the top strip is only one way to make this but I think I'd rather find a different way as I don't like how this looks.
 
Sorry about the tiny pics - for some reason Blogger won't let me adjust the size of any photos after the first few.  It's kinda frustrating but I have no idea how to fix it.
 
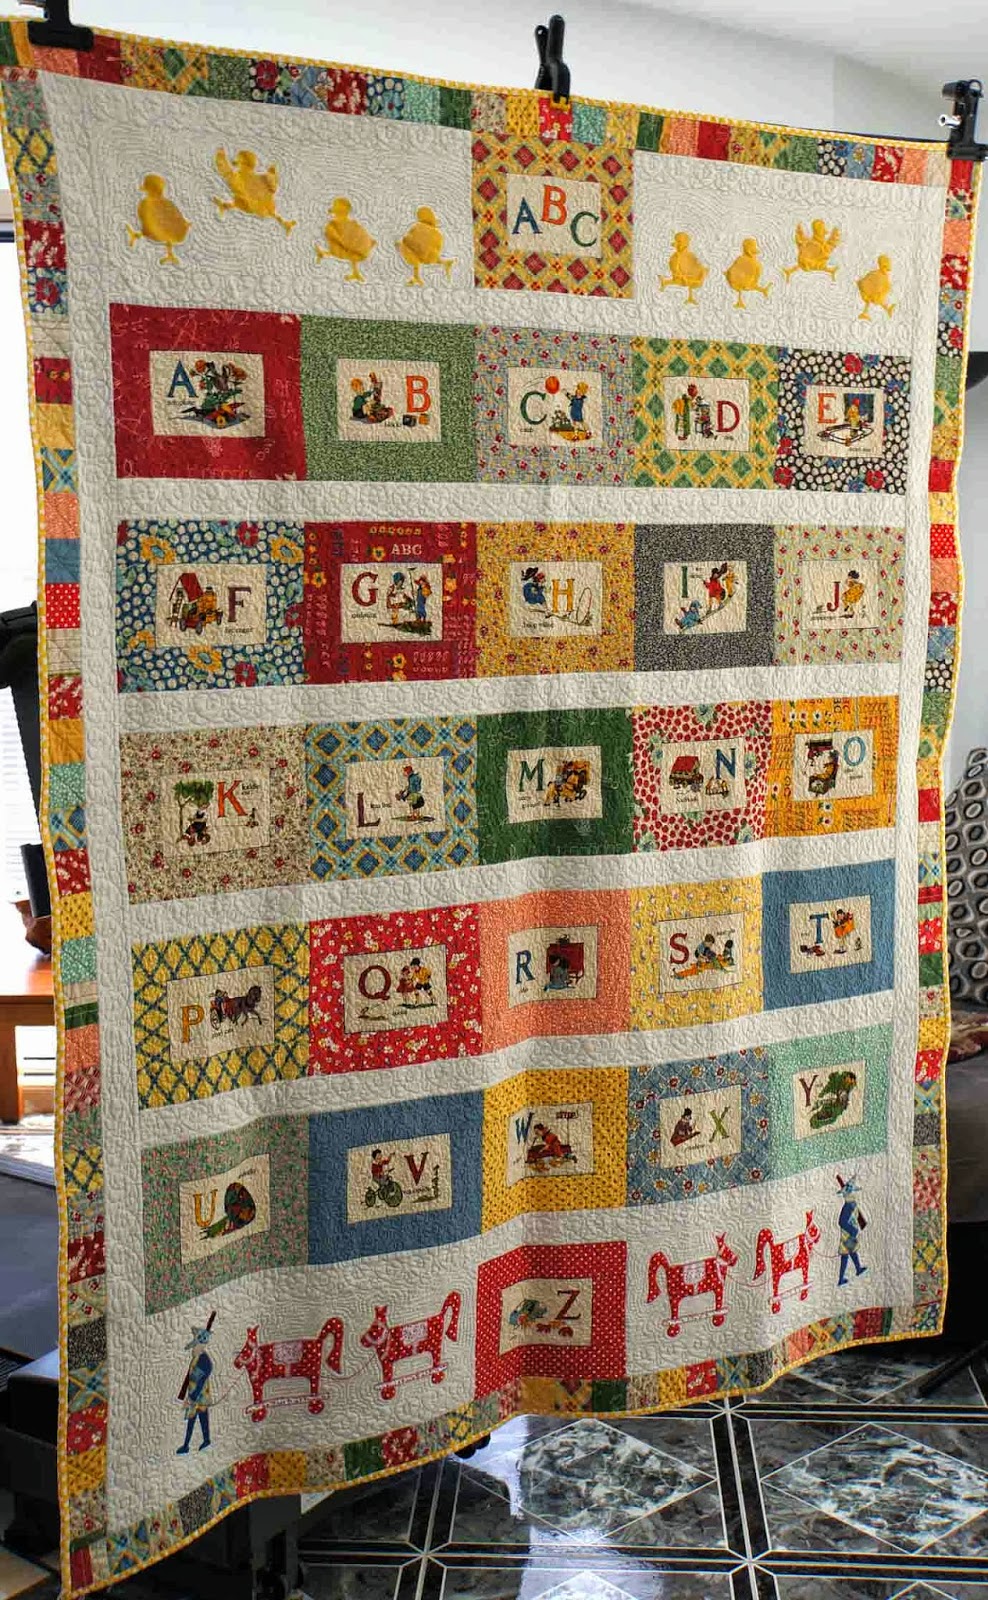
So while I'm worried about putting together a pleasing design with pieced blocks, I have had a bit of a go with very simple designs and applique.  There was this one I make for my 4 y.o. grandson who is motorbike mad.........
I've called it Jack Attack - you need to click on the image to see it properly.
 
I also made up a Cat Quilt for the end of my bed.  I gave up putting quilts on my bed because they would very quickly be covered in cat fur.  I decided to make a runner for the end of the bed where they like to sleep and made up my own design for it.
 
 
It fits rather nicely...but I still need to sew down the binding.  Literally seconds after I lay this across the bed it was covered in cats, I had to fight them to get it back so I could finish it!

Anni and Floyd setting in :)
 
The applique cat designs came from pictures in "Cat Quilts & Crafts" by LaVera Langeman.  LaVera allows free downloads of this out of print book from her blog.  Thanks!
 
GETTING CREATIVE
I think Harriet has a point when she asks if creativity is becoming a lost art;  when we buy other peoples designs, patterns, pre cut fabrics and kits, then simply sew up the top and have someone else do the quilting.  What can I say - GUILTY!  
 
I recently finished this beauty from a kit (at least I did the quilting myself)...............
 
It's called Vintage Valentine - designed by Verna Mosquera.
 
Now I can't imagine I could ever design anything as lovely as this and I still need lots of work in putting fabrics and colours together.  So for now, I will continue to sew other peoples designs. 
 
Still I will give this designing a shot.........Harriet promises it will be fun and I'm all set to get started.
 
Harriet recommends reading The It's Ok If You Sit On My Quilt Book by Mary Ellen Hopkins.  I wasn't able to find a printed copy but managed to download an e-book version, so I'm good to go.


Sunday, September 22, 2013

Vol 3 - Project 2 - Broken Dishes

Well I got this one finished.  I played around with the design a little and couldn't resist adding a bit of contrast to all that blue!


I actually finished the top a little while ago, so it didn't take as long as I thought it might.  Using Harriet's triangle piecing techniques I got decent results.  Although I did lose a few points here and there, overall I'm happy with the process and the results.
 
A closer look.......
 
A BIT OF A CATCH UP
I thought I might display a bit of what I've been up to between blogs.  Remember the Final I made at the end of Vol 2?  I put it together during the Tassie bushfires and wanted to quilt it appropriately.  Here is the finished quilt.....
 
Fade to Black
 
I adapted a leaf stencil to look like flames and quilted it in 2 different variegated threads.  On the edge of the border I quilted 'smoke' using a variegated black/grey thread and a swirling pattern I did freehand.
 
The piecing was simply grid quilted.
 
 
Here's some pics of Non Harriet projects I've been working on............
 
Hip to be Square got quilted........
 
Mostly stitch in the ditch with a bit of stencil work.
 
Purple Rain is huge - fits a King size bed with quilt to spare!

Stitch in the ditch, free form on the braids and stencil work on the borders
 

I don't like the free form I did, I need to work on this style of quilting.
 
This one was for my Granddaughter's birthday.

There are 25 outfits to dress the dolly with.
 
Quilted with a variety of stencilled hearts

Milly playing with her "paper' doll quilt.
 
A quilt for DIL Sarah
 
Anni tests Sarah's quit for comfort.

I used blue pounce powder for the stencil work and was horrified when it didn't wash out.

It took several washes, an application of vinegar and a commercial stain remover to get rid of most of it.  The white thread still has a grayish tinge to it but the off colour has now become part of the quilt's story.
 
I also have several appliques which are works in progress, one is even a hexagon which I'm doing by hand - this is definitely a long term project - lol
 
One of the appliques which is now a completed top and awaiting quilting.
 
Until next time.................Cheers!


Saturday, September 7, 2013

Vol 3 - Project 2 - Harriet's Vintage Rainbow Broken Dishes

This next project is a very pretty quilt, as you can see............

 
Its construction is quite simple, but it's not fast as being precise is very important. 
 
I've chosen to make mine in cream with a selection of blues - I used a heap of scraps in all shades of blue.
 
The technique Harriet chose to make the triangles is 8 from a square - although you can choose to use any of the methods from the techniques section.  I quite liked the 8 from a square method, and was happy to use it.
 
The cutting, sewing and trimming to make the triangles took quite some time, and I'll admit to doing this part over a couple of weeks. 
 
A little corner of my cutting table dedicated to making HST's for this project
 
The instructions for putting the blocks together are very thorough, and this time my results are much nicer.  No lost or floating points. 
 
 
I'm even working without using pins, as the pins can distort enough to get those seams out of whack.
 
One completed block. A bit fuzzy, sorry - but you get the idea.
 
I have a whole pile of these to do and as I said, it's slow going while I get used to the technique.  I'm sure the piecing will get faster as I gain confidence in the method.
 
Stacked and ready to piece together.
 
Up on the design wall, slowing growing...........


Saturday, August 31, 2013

Vol 3 Project 1 - Carries Table Runner

The first project in Vol 3 is a table runner where all those half square triangles made during the techniques exercise are used.

I will admit to getting quite confused with the instructions - not for making the table runner, but for which colours to make the HST's and how to press the seams.  In the end I just repressed some and worked with what I had.

THE PINWHEEL BLOCK
Laying out and sewing in order is the key to making this block.  And pins are your friends!

Layout and sew in order
After fanning the seams there is always at least one seam turned the wrong way!

Sew up four sets of units to make up one block
Finished Pinwheel Block
 
So in my confusion with the instructions, I ended up making too many Pinwheel Blocks - apparently I only needed one.  The table runner is supposed to be make up from a selection of layouts using the half square triangles I'd made.  I decided to go with what I had started and used only two different blocks, the Pinwheel and the Hourglass.
 
THE HOURGLASS BLOCK

I think this is an Hourglass block.  In the book the illustration shows an Hourglass, and the photos show the Whirlwind.  Anyway I ended up making 4 Pinwheel and 4 Hourglass blocks.
 Hourglass block layout
  
Sew four units then sew four units!!
Every seam is turned the wrong way! LOL  Note the seams are pressed open for these blocks - maybe fanning the seams was a bad idea.
 
PUTTING IT ALL TOGETHER
Okay, I have my 8 blocks made up of Half Square Triangles.  I chose 2 Pinwheel and 2 Hourglass blocks for the centre of the table runner and left the others for the sides.  The instructions are very scant for putting the table runner together.  For those of us following through the books in order, this is no big deal and it's easy to do using knowledge gained through previous projects. 
 
Block layout
Sashings were used to join the centre blocks
Borders are added to the centre blocks
Side setting triangles are added to the side blocks
Borders are added to both ends and mitred
(thanks to Trish for helping me with this part)!
The finished top.  Black binding will pull it all together.
 
ISSUES
The first part of this book, long before you get to the first project, there is a lot of instruction on cutting and sewing triangles.  Harriet suggests all sorts of tools and techniques to make sewing triangle blocks successful.  The main emphasis is on how to avoid floating points and lost points - I managed to make both of these type of points as well as crocked and mismatched ones.
 
I'm going to have to read this section again.  There was a pretty long break for me between reading the tips and doing the sewing (ahem I had lots of free motion quilting to do).  As a result, my triangle blocks are quite pathetic. Sigh.  The busy border print was chosen to distract from the actual blocks - I think the choice was successful