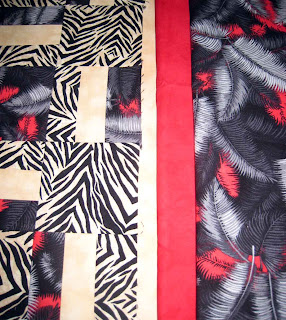
Popped into town yesterday and managed to pick up the fabrics I needed to finish the blocks.....Quilted Crow was sold out of the red (uh oh) but new stock was delivered while I was in the store (yay)! Did a spot of shopping and paid a total 80 cents for 2.5 hours parking (so impressed with that - thank you Hobart).
The bad news..............
Yep, busted. I had to revert to my old ones, which are not so great (any excuse will do).
So, finished all the blocks, layed out the design and set up to sew it all together, using Harriets foolproof chainstitch method. (click on the pics for more detail).
Once the chain stitching is done - time to sew the rows together and the all-important butting the seams
Not too bad, but room for improvement.
Sometimes it works beautifully - and sometimes it just doesn't :(
In the end it all comes down to accuracy in cutting & seam allowances. Practice and more practice and I should get it right - but for now, only a few of the butts are off, so am not complaining too much.
So, after a few dramas and an excuse to do some shopping in town...... another project is done.
All the way through this project, I was iffy about the fabrics. Seeing it finished, I am now definite I don't like the combination. The dark green really jars. So even after doing a mock-up I got it wrong. In hindsight, I think I should have stuck with my original plan, which was a pale green instead of the dark green. I thought the darker fabric would have more oomph. So it does, but not in a good way! It's hard to see the pattern made by the third rail - the large print floral - as it's so overwhelmed by the stronger colours.
Maybe it's the design itself - I'm not particularly keen on it, a bit boring. Anyway, onto other things.
Fabrics used were purchased from Spotlight, Eddy's Sewing Centre and The Quilted Crow.
That beautiful sewing machine in the picture is a Wertheim Griffin hand crank, made in Germany, probably in the late 1800's. I intend to convert this machine into a treadle. I have the cabinet and irons, in a very distressed condition, awaiting restoration. The original Griffin which came with the cabinet is unrestorable, so the hand crank will replace it. I've had a go at the cover - but lots of work yet to do.


